- ×
 Flavor West Candy Cane Flavor 30ml 1 × 79,00kr
 - ×
 Four Elements Cyclone 50ml Shortfill 2 × 179,00kr
 - ×
 Capella Chocolate Glazed Doughnut Flavor 30ml 2 × 89,00kr
 - ×
 Crazy Mix Strawberry Candy V6 50ml Shortfill 1 × 99,00kr
 - ×
 Flavourart Costarica Special Mango 30ml 1 × 89,00kr
 - ×
 Inawera Banana Flavor 30ml 1 × 109,00kr
 - ×
 Flavourart Melon Cantaloupe Flavor 10ml 1 × 99,00kr
 - ×
 Crazy Mix Exotic Mango Ice V9 50ml Shortfill 1 × 99,00kr
 - ×
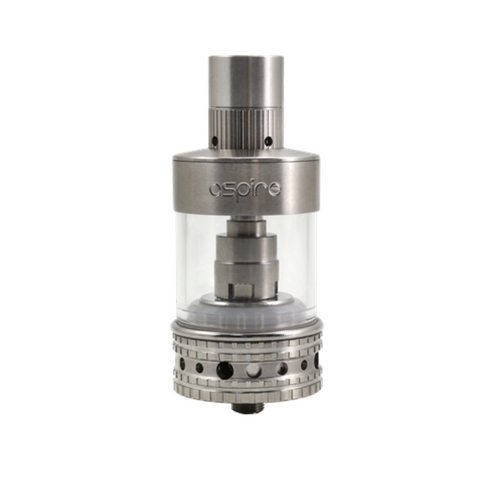 Aspire Atlantis Mega Tank 1 × 295,00kr
 - ×
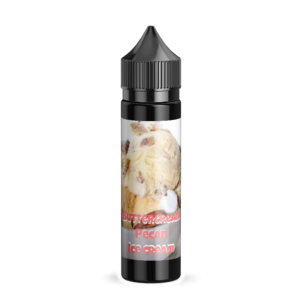 Crazy Mix Buttercream Pecan Ice Cream V5 50ml Shortfill 1 × 99,00kr
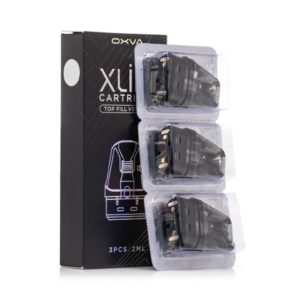
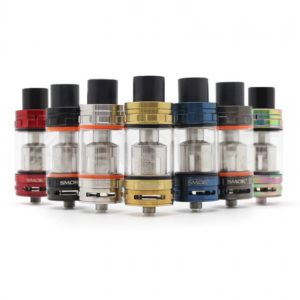
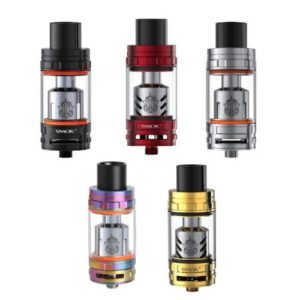
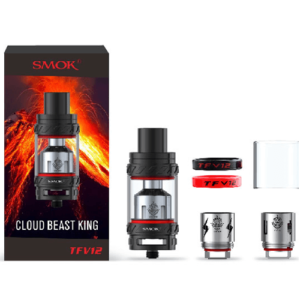
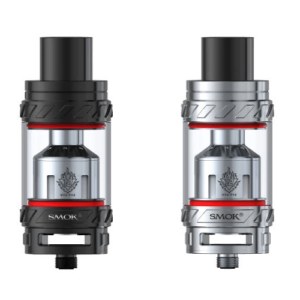
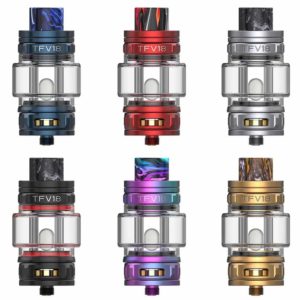
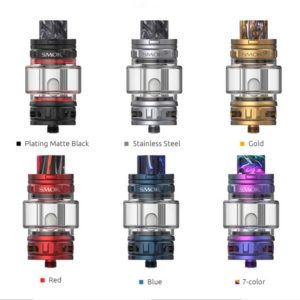
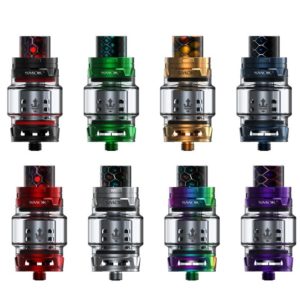
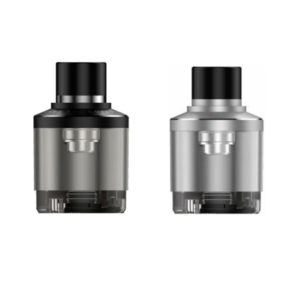
E-cigarette tanks are needed to vape. It holds the e-liquid and vaporizes it to produce that delicious vape we all love. We provide high-quality tanks and clearomizers, some that specialise in great taste, others in vapor production. With so many fine e-cigarette tanks to choose from, you better get started browsing our selection!
229,00kr
395,00kr
395,00kr
495,00kr
499,00kr
MTL Tanks
129,00kr
399,00kr
195,00kr
395,00kr
OUTLET
179,00kr
-30%
OUTLET
Original price was: 399,00kr.279,00krCurrent price is: 279,00kr.
295,00kr – 369,00kr
199,00kr
129,00kr
Sub-ohm
199,00kr
999,00kr
295,00kr
Pod-tanks
249,00kr
What is a Vape Tank?
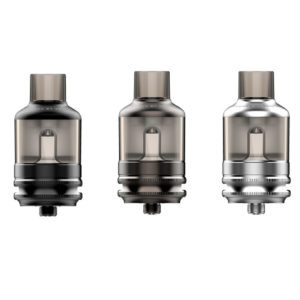
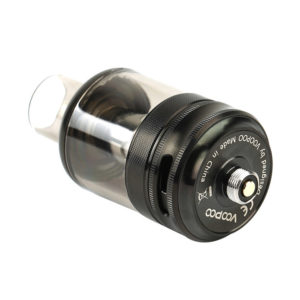
While you may already be familiar with the concept of vaping, you might not fully understand all the components that make the process possible. The container that holds your e-juice and creates the vapor is known as the vape tank.The vape tank, or clearomizer, understanding what a tank is will help you use and take care of your kit, as well as help you discover the tank that best suits your needs.
Each tank contains a tube that runs up the middle, attached to the coil, which connects the bottom of the tank to the mouthpiece. Vape tanks hold the e-juice and allow it to be drawn into the cotton wick that surrounds the coil. This means that when the tank is used, the coil can be heated to vaporize the liquid absorbed by the wick. The vape tank continues to feed the wick until the e-juice needs to be replaced.
How is a Tank Constructed?
Despite the incredibly wide variety of e-cigarettes, the majority of vapes still maintain a similar design for the tank itself. This includes components such as:- Tank section
- Chimney and top cap
- Drip tip
- The base that attaches to the battery
- Coil
The base section is attached to the coil which is screwed in to ensure a connection to the battery, and the coil is the part that heats up to produce the vapor you inhale.
How to Fill a Vape Tank
There are a variety of methods you can use to fill your vape tank, but every expert will warn you: do not get e-juice into the central tube or chimney. You want to avoid this because it can cause problems if the coils become overloaded with e-juice, which can cause it to leak. When filling your tank, be very careful when pouring in the e-liquid. We recommend using a bottle with a narrow tip to gain better control over the filling. Tilt your tank and let the e-juice flow down the inside of the tank.Some tanks have clear markings that show the maximum capacity, indicating how much e-juice you should pour in. If not, be sure not to fill the tank to the max so that the e-liquid does not overflow into the chimney when you assemble all the components again.
It is recommended that you allow the e-juice to sit for about ten minutes after filling the tank to acclimate. This will prevent you from getting a burnt taste, which you might otherwise experience if you do not prime your coil.
We all make mistakes, and sometimes overfilling the tank can happen by accident. If this occurs and you notice your tank gurgling/spitting, simply remove the tank from the battery and place a paper towel over the airflow openings to dry them out. Then take the mouthpiece and blow through it to remove any excess liquid from the chimney. You may also need to disassemble it and clean it thoroughly.
Tanks can be filled either from the top or the bottom depending on the make. If your tank has a filling hole at the bottom, turn the tank upside down to evenly fill the e-juice and avoid spills.
Make sure not to remove the top because it can cause the e-liquid to leak straight through the tank itself.
If you own a top-fill tank, carefully remove the top part where the mouthpiece is located and separate it from the tank. This will expose the filling hole where you can drip the e-liquid down into the tank.
How to Clean Your Vape Tank
Cleaning and maintaining your vape tank should be regular and consistent to ensure smooth operation of your device and a better vaping experience. Regularly rinsing your tank prevents e-liquid residues from accumulating in it. Simply remove all your components and rinse them under warm water before drying them and assembling the tank again.How you clean your tank depends greatly on the type of vape you own. Some vape tanks have built-in filling holes, which means you cannot remove the top cap. This requires you to clean the tank and top cap as a whole rather than separately. Most modern vape tanks allow you to remove the mouthpiece, coil, and even the bottom, so these can be washed separately.
Extra care must be taken when cleaning the wick as it will not perform optimally if not dried properly. Ensure it is thoroughly dried to remove as much moisture as possible. It is recommended that tanks be left to dry for a full day to ensure that all moisture has evaporated.
Water residues evaporate at higher temperatures than an e-liquid and can cause issues in your device. If you want to clean coils that may be slightly dirty, use hot water or pure alcohol to soak the heads and break up any material that may have accumulated from use. This can then be washed away.
Different Types of Tanks
Vaping can be customized for each person, and there are a variety of vape tanks that can be used depending on your needs. Here are some of the vape tanks you can choose from:- Sub Ohm Vape Tanks
A sub ohm tank is by definition a tank that runs with coils under one ohm. The advantages of these tanks are that their coils heat up faster and more power can flow through them. This means that more e-juice is vaporized at once, which produces larger clouds and stronger flavors. It can be somewhat compared to smoking a hookah, where you take direct lung hits.
Sub ohm tanks are popular because they are user-friendly. They are mostly filled from the top of the tank and have built-in refill areas to make it much easier to refill e-juice. They usually have airflow control rings at the bottom, a wide chimney, and a wide drip tip that provides a larger airflow.
- Mouth-to-Lung Tanks (MTL)
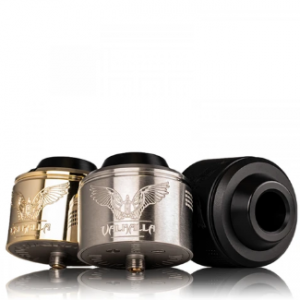
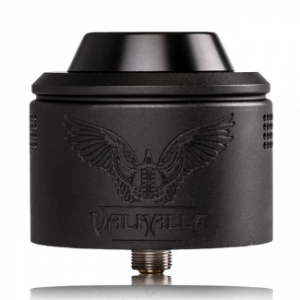
- RBA Tanks Not as common as mouth-to-lung or sub ohm tanks but rebuildable tanks are often used among vapers who want ultimate flavor and the largest possible clouds. RBA has custom coils and not pre-made ones that you just screw in, but here you usually have to mount (and build) the coils yourself and insert cotton. In the concept of RBA, we have a few different terms used:
RDA (Dripper)
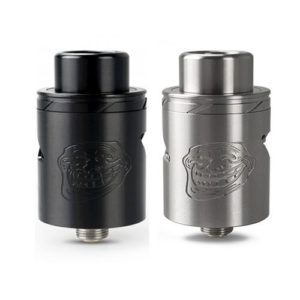
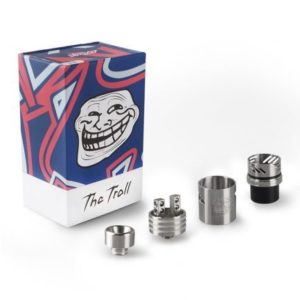
Unlike regular vape tanks, you build your own coils and install the wire yourself. In a dripper, you do not fill e-juice but, as the name suggests, drip as needed. This allows you to customize your vape just as you want with different ohm or wire types.RTA Tank
It stands for "Rebuildable Tank Atomizer" and the difference against an RDA is that here you actually fill the tank with e-juices as usual, but you build the coil and wick yourself.RDTA Tank
An RDTA is similar to an RDA and it works in the same way but the difference is that the tank part, which is under the build deck, delivers e-juice without you having to drip all the time.Having trouble with your atomizer? - Read our guide "How to avoid vape leaking & spittback".

