Oct
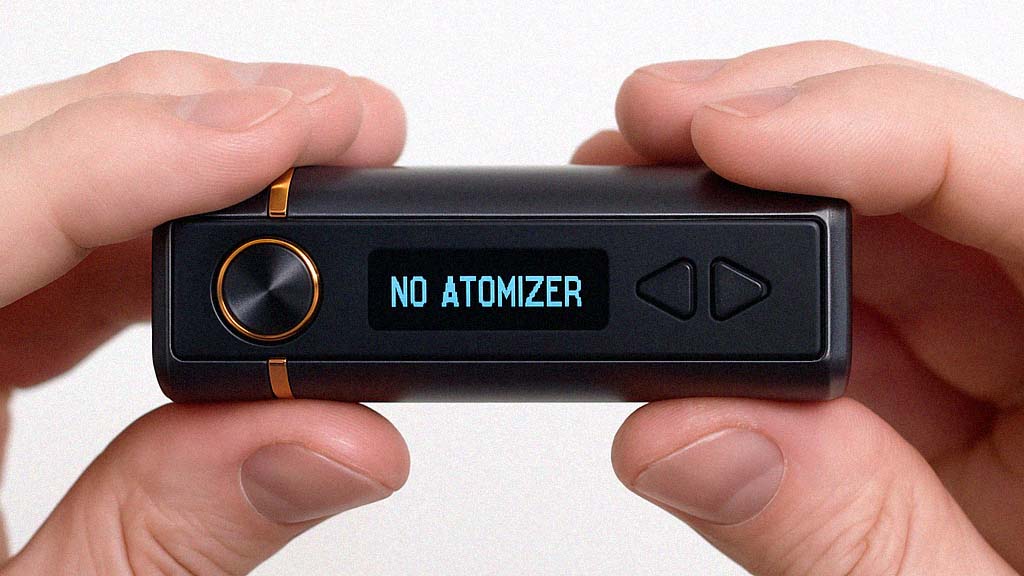
Your e-cigarette worked perfectly before, but now a message suddenly appears every time you press the button: “Check Atomizer.” Why does this message appear—and what can you do to fix it?
Follow these steps to fix the “Check Atomizer” error:
Clean the atomizer connection pin
Start by cleaning the contact (or pin) on your atomizer, clearomizer, or dripper using some paper or a tissue. Gently remove any residue.
Clean the battery pin
Use paper to clean the area where the clearomizer screws in. You want to remove any e-liquid or residue. A thorough cleaning improves conductivity between the parts of your e-cigarette.
Make sure all parts are properly tightened
Ensure your atomizer/clearomizer/dripper is firmly attached to the battery. If it’s loose, it may cause the error message. On the other hand, don’t overtighten it—you might damage the threads or get it stuck.
Check that the coil is properly seated
Make sure your coil is correctly placed. Remove it and reinsert it to double-check. If the error persists, it may help to replace it with a new coil.
Check Atomizer
In most cases, this error occurs because the device (regardless of brand) cannot establish contact with the top part—the clearomizer or atomizer.
If you follow the steps above and still get the message, try replacing the coil. The coil might be defective. If the problem continues, test another atomizer or clearomizer on the same battery. Some models have a slightly shorter pin, which can lead to poor contact and trigger the error. In such cases, you may need to switch to another clearomizer model or use a different battery.
Short Atomizer
The message “Short Atomizer” means almost the same as “Check Atomizer”—it indicates a contact issue between the coil and the battery. Follow the same steps as for “Check Atomizer” to try to fix it.
Battery Error
The message “Battery Error” often indicates a more serious problem.
Try resetting the device to factory settings if it has a reset function. If the issue remains, it may be necessary to replace the device.
If your device uses replaceable batteries (e.g., 18650 type), try changing the battery. If the battery is built-in, you may need to replace the entire mod or box part.
Low Atomizer
The message “Atomizer Low” (or “Low Atomizer”) indicates that the coil resistance is too low for the battery to power it properly.
Each box mod has a range of power output it can handle, and a coil with too low resistance often requires more power than the box can deliver. The solution is to replace the coil with one that has a higher ohm rating (higher resistance).
If the error message persists even after changing the coil, it may still be a contact issue—refer back to the steps for “Check Atomizer.”
Frequently Asked Questions about the “Check Atomizer” Message
Why does the “Check Atomizer” message appear?
This is a common error message that occurs when there’s no contact between the battery and the connected clearomizer/atomizer. It can be caused by improper assembly or a defective coil.
How do I fix the problem?
Thoroughly clean the contact between the battery and the atomizer (often called the 510 pin). Unscrew, clean both threads, reassemble without overtightening, and test again. If the issue continues—replace the coil.
What’s the difference between “Check Atomizer” and “Low Atomizer”?
Both indicate a connection problem, but “Low Atomizer” can also mean that the coil resistance is too low for the battery to operate correctly. Check that your coil’s resistance is compatible with your mod.
If the error appears after changing the box or battery?
Check the assembly and contacts. If they’re fine, replace the coil. In very rare cases, the new box or battery may be incompatible with your atomizer/clearomizer.
When I changed the coil, the error appeared—what should I do?
Clean the device thoroughly, make sure the new coil is properly screwed in, and if the problem remains—try another coil.